A digital certificate is an electronic proof of authenticity that, for example, verifies a person's identity. In real life, a certificate can be compared to an ID card. In the case of a digital certificate, the CA (Certification Authority) is the issuing authority that verifies the authenticity of the certificate.

A scanned signature is merely an image inserted into a document. It is technically impossible to verify if it is the correct signature and whether the rightful owner of the signature executed it. With digital signatures, technical measures can be utilized to ensure the signature’s authenticity.
At HWR Berlin, digital certificates are already mandatory in some areas and will be introduced more broadly in the future.
- Sign and/or encrypt emails
Verify the authenticity and integrity of an email and encrypt an email - Digitally sign PDFs
Ensure the integrity of the document and the signature - S/MIME stands for Secure/Multipurpose Internet Mail Extensions
1. Create certificate
HWR generates its certificates through the CA Sectigo.
Go to the website:
https://cert-manager.com/customer/DFN/idp/clientgeant
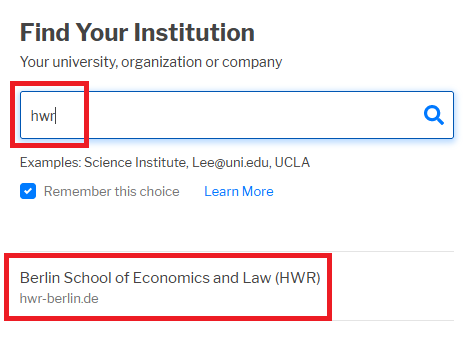
Search for “hwr” and select HWR Berlin.
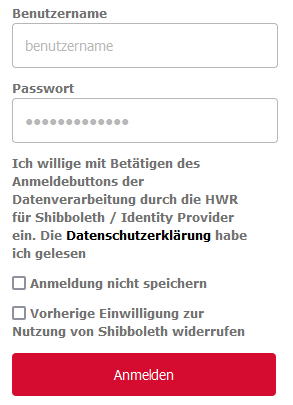
In the login window, enter your username and password.
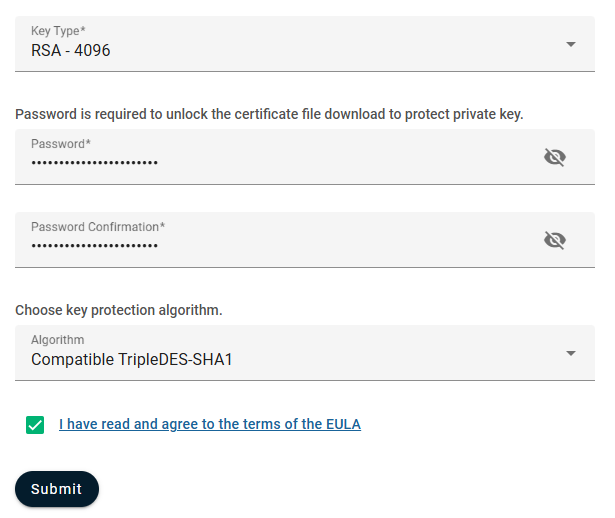
Select a certificate duration of 730 days (2 years) and Key Generation.

- Select RSA 4096 as the Key Type
- Set a password that is at least 12 characters long
Save the password in a password manager (such as Keepass), as Adobe sometimes requests a password when signing - Choose the algorithm TripleDES-SHA1
- Check the box for the EULA and click Submit
The generation of the digital certificate may take 10-20 seconds, after which the file will be downloaded. By default, it is named certs.p12.
It’s best to save this file to your H drive.
2. Integrate certificate in Outlook
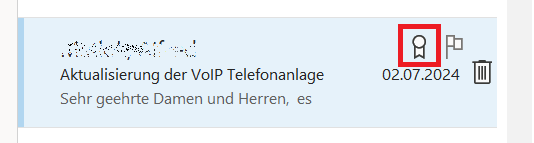
You may have noticed that emails from, for example, university management, IT, or finance are signed. This is indicated by the red-marked icon.
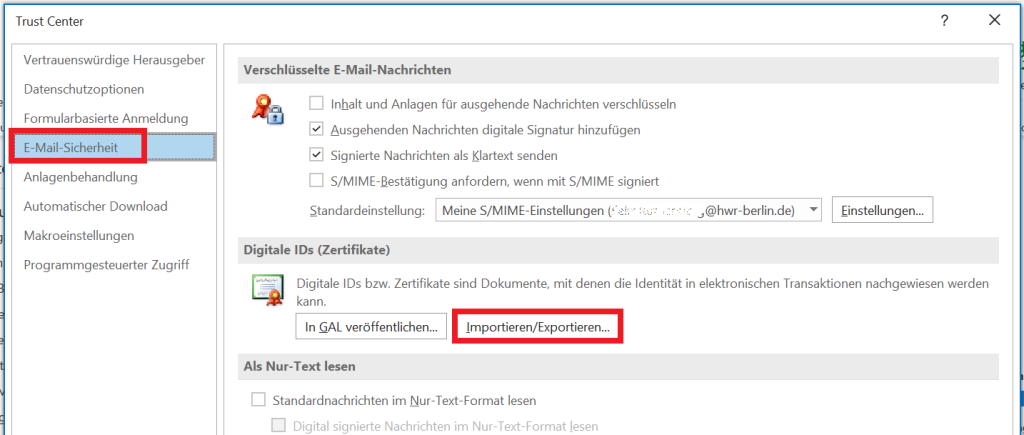
To integrate your own certificate in Outlook, go to File -> Options -> Trust Center -> Trust Center Settings in the top left corner.

Go to Email Security and then Import Digital IDs
Click on Browse and select the certificate you just created
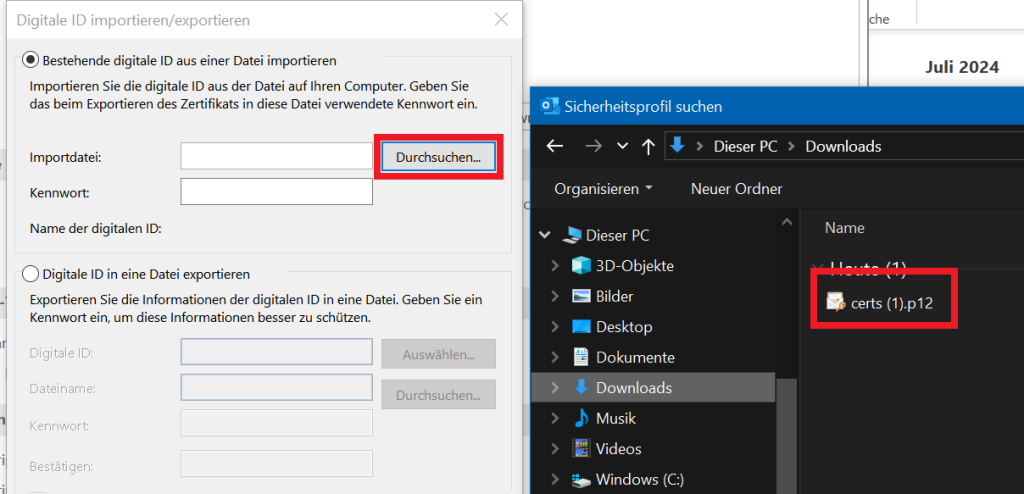
Enter the password you set when creating the certificate.
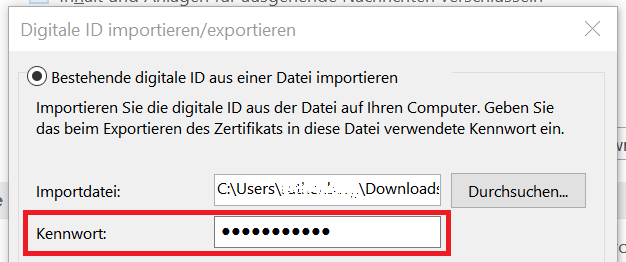
Confirm the import window with OK.

Check the box for “Add digital signature to outgoing messages.” And review the S/MIME settings.

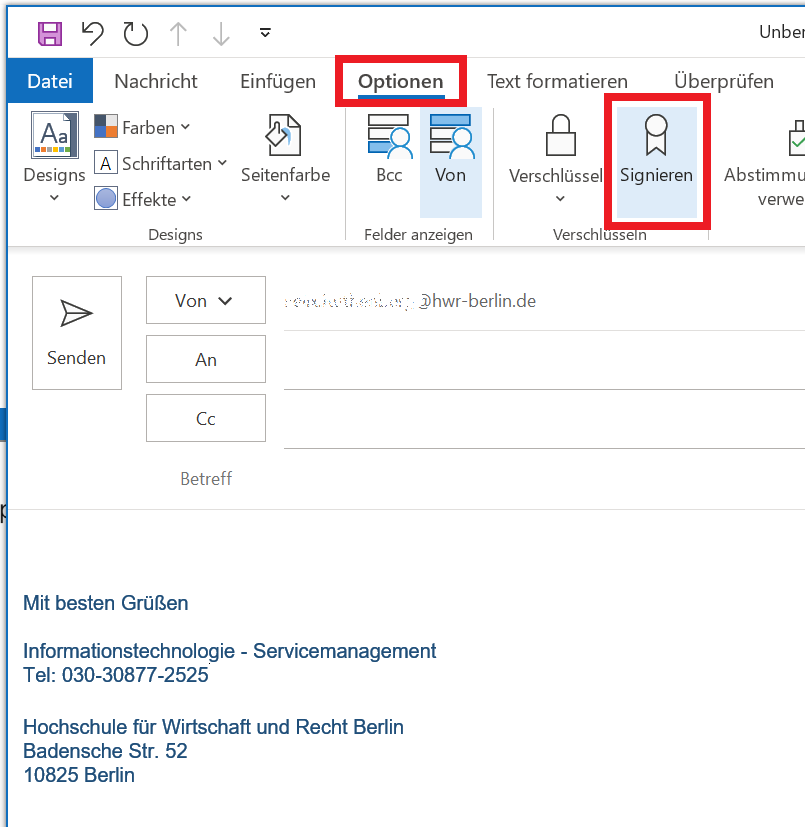
If you now write a new email and go to the “Options” tab, the signing should be automatically enabled (highlighted in blue).
3. Integrate certificate in Adobe Acrobat
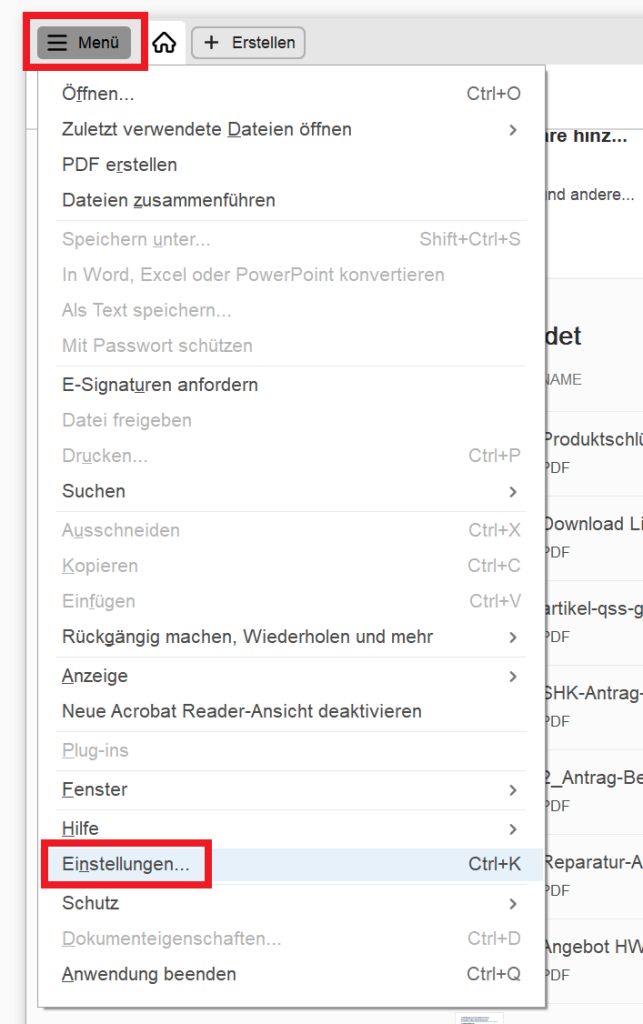
Start Adobe and go to the menu -> Settings
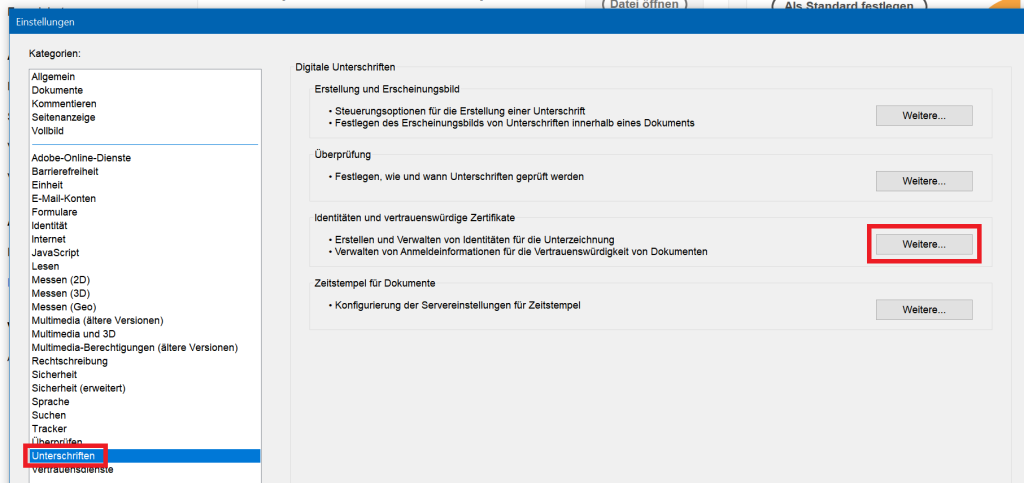
Click on Signatures, then select “Add Other Identities and Trusted Certificates.”
1. Option
Click on Digital ID Files. Go to Attach File. Select the certificate you just created and downloaded.

2. Option
Click on Digital IDs from Windows. Your certificate will be listed here if you have already integrated it in Outlook. Click on the pencil icon at the top to use it for signing.
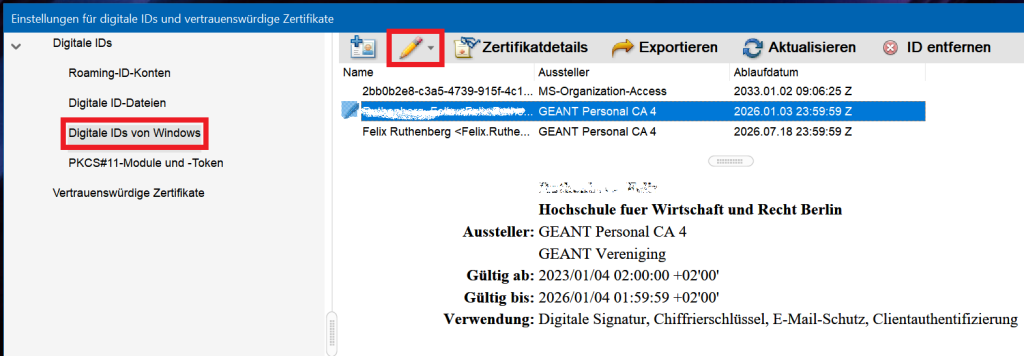
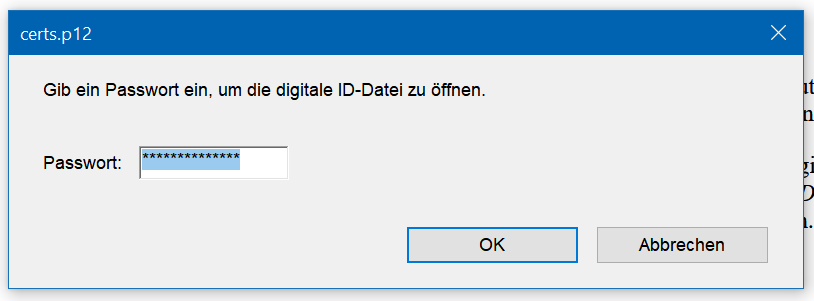
Enter the password for the created certificate.
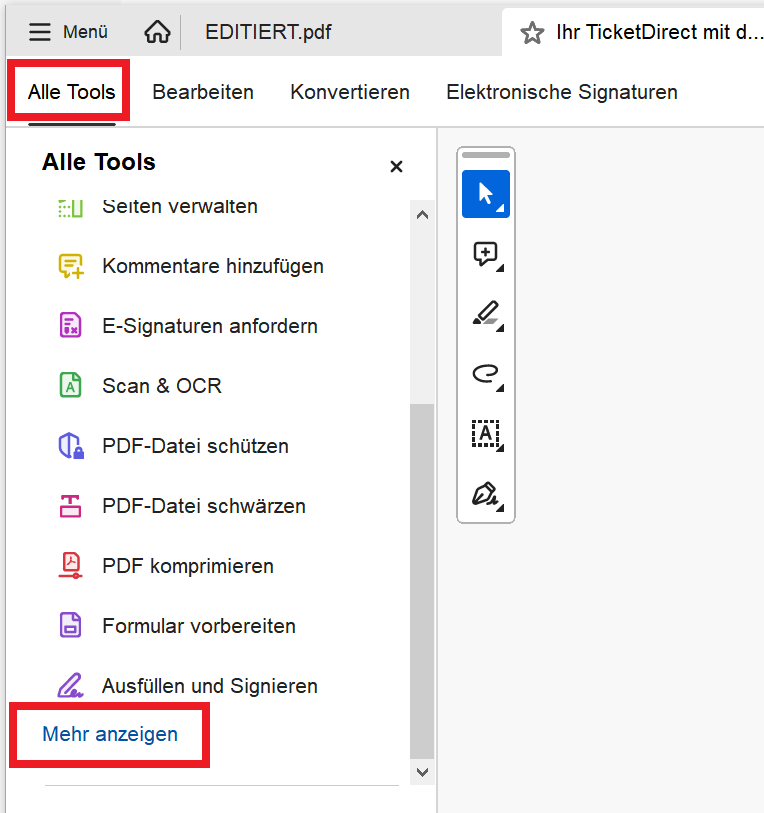
To sign a PDF document, go to All Tools and click on “Show More.”
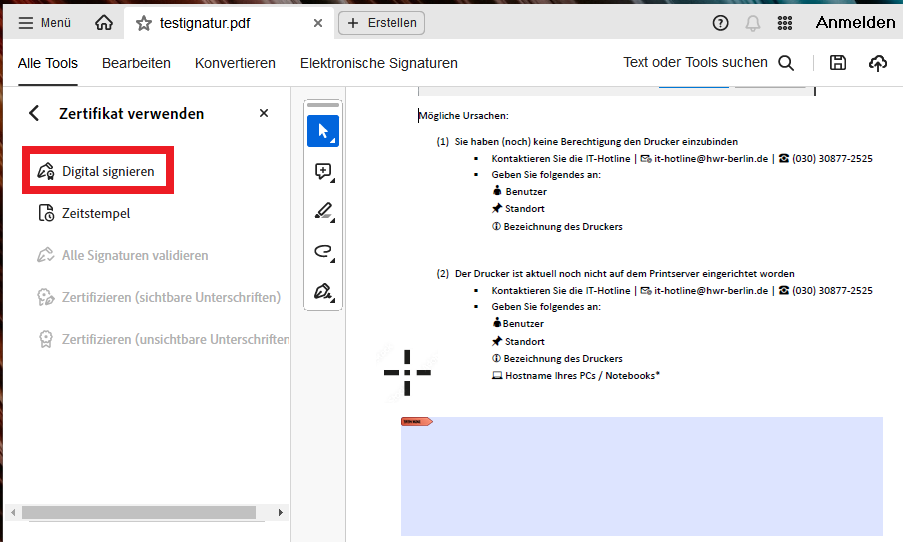
Select “Use a certificate.”
“Fill & Sign” is incorrect.

Click on “Digital Sign” and, while holding the left mouse button, drag to create the area in the document where the signature should appear.
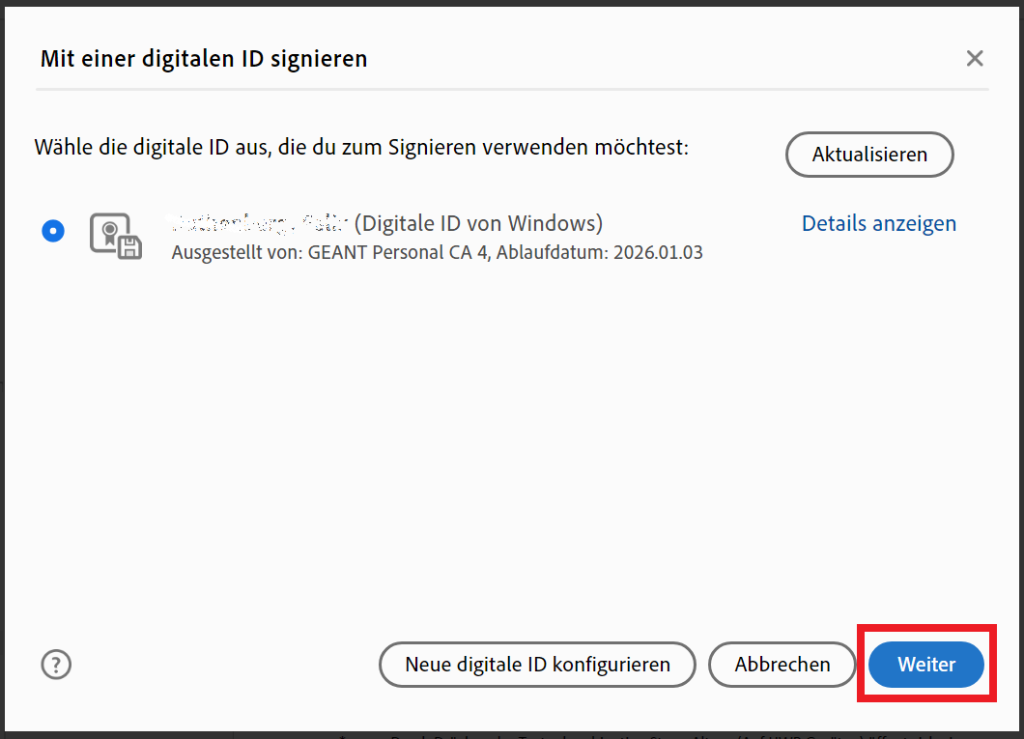
Confirm the selected certificate.
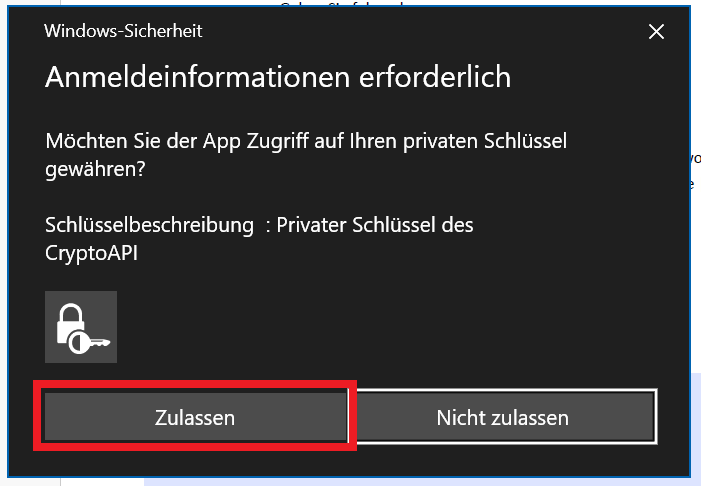
Allow the process to complete. You may need to enter your username and password. After that, the PDF document will be fully signed and can be saved.